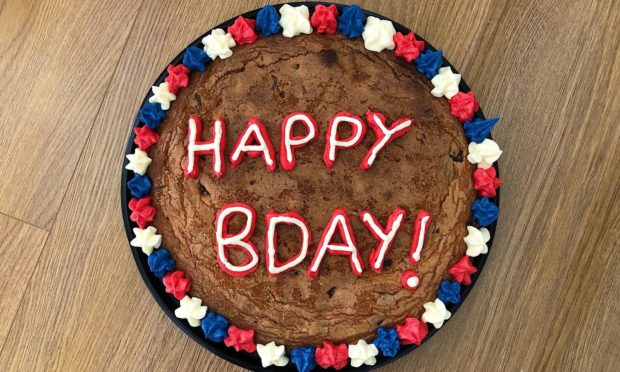
Impress your loved ones at their birthday by making them their own signature Millie’s Cookies-inspired cake.
The one thing lockdown has most certainly done has opened my eyes to baking.
Looking for those easy wins, I wanted to challenge myself to making something a little bigger than my Lotus Biscoff four-ingredient fudge, or my easy-to-make carrot cake.
In doing so, I came across a recipe to recreate my own Millie’s Cookies giant cookie at home.
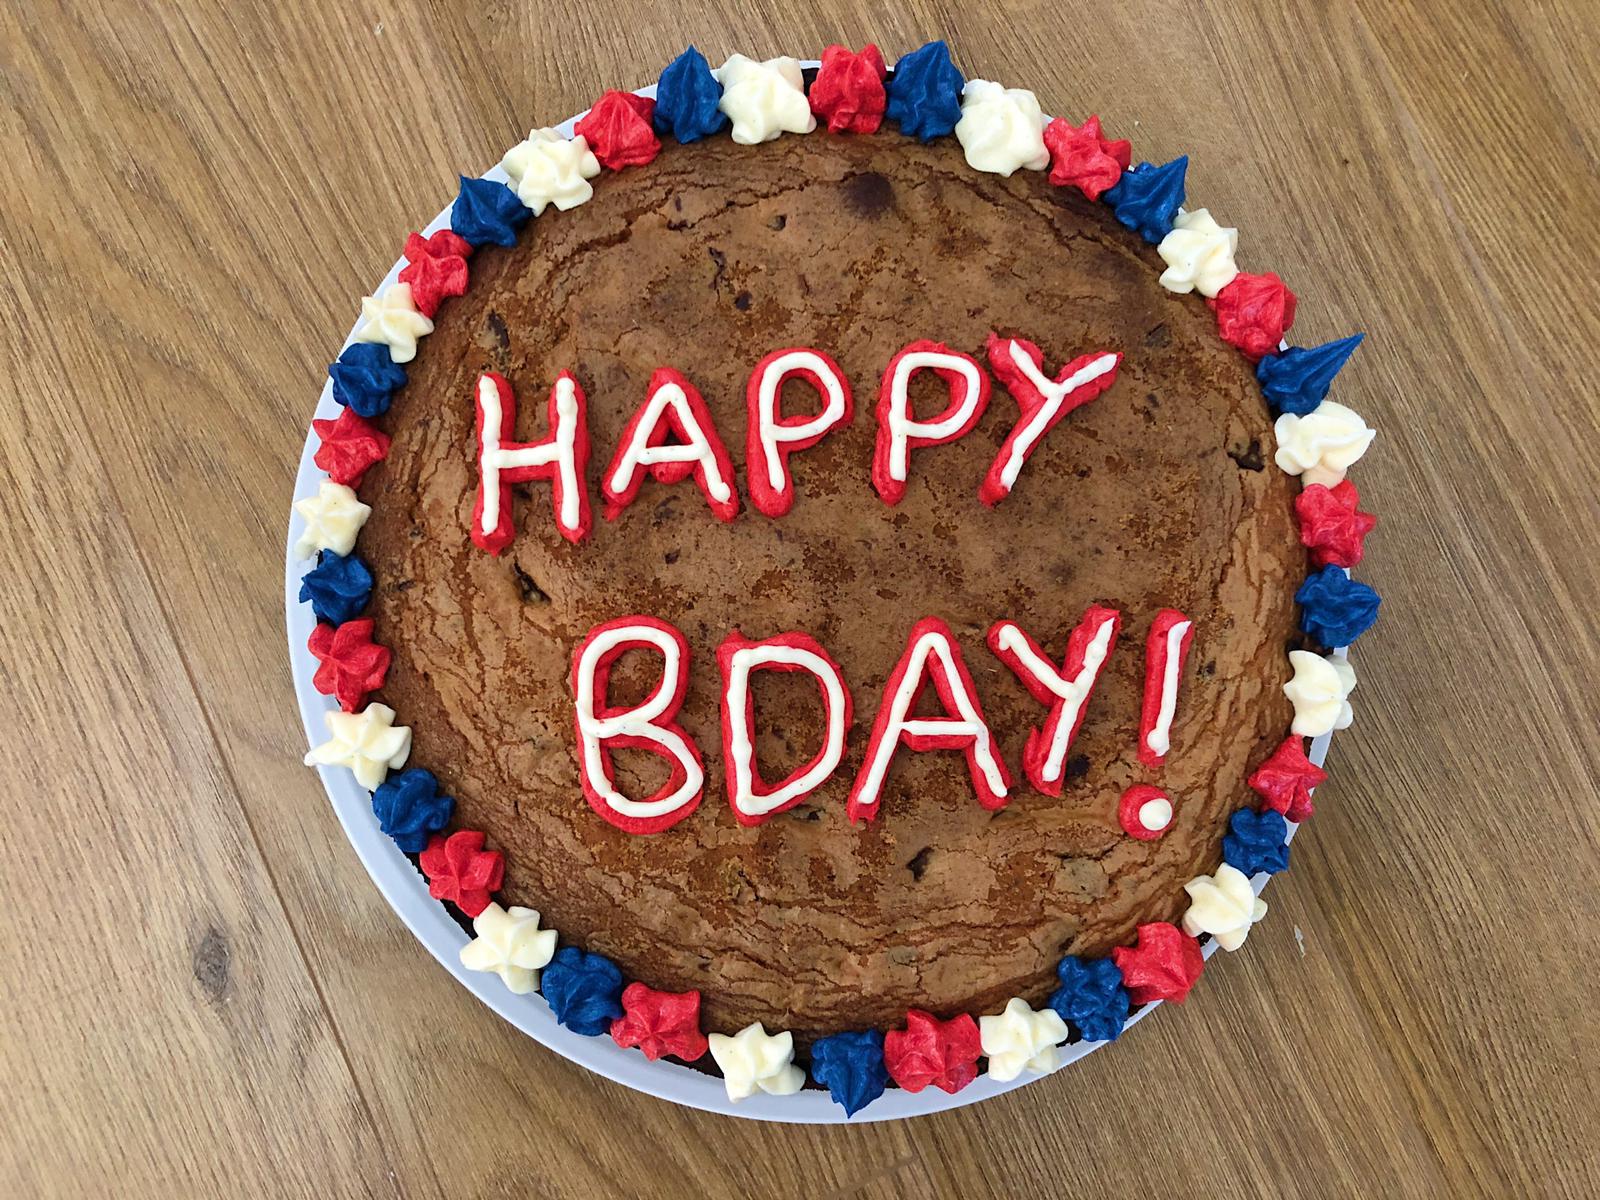
While the bake most certainly did not end up as a giant cookie (it was more of a cookie-inspired cake with the addition of the flour), it was still delicious and went down a storm for my sister’s birthday.
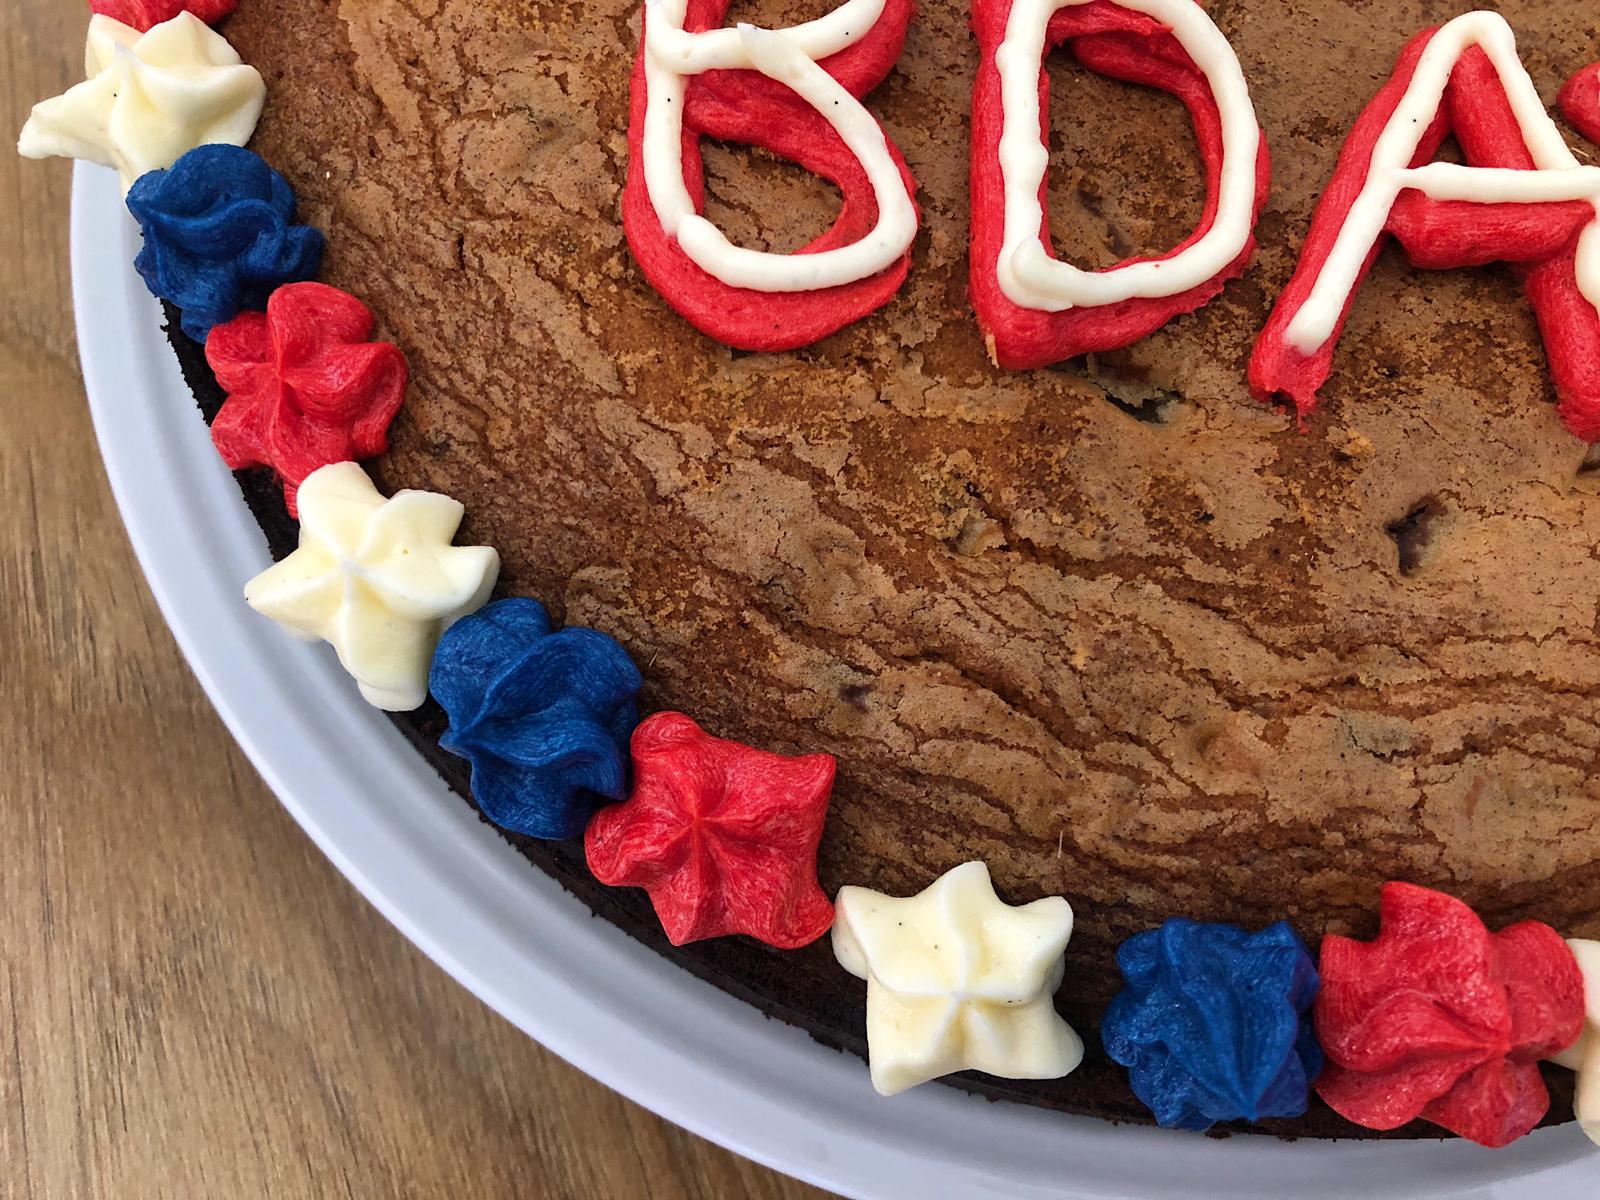
The best thing about this cake is you can get as creative as you like with it. And while I may have kept it quite plain and simple, it is most certainly something those good at decorating will thoroughly enjoy.
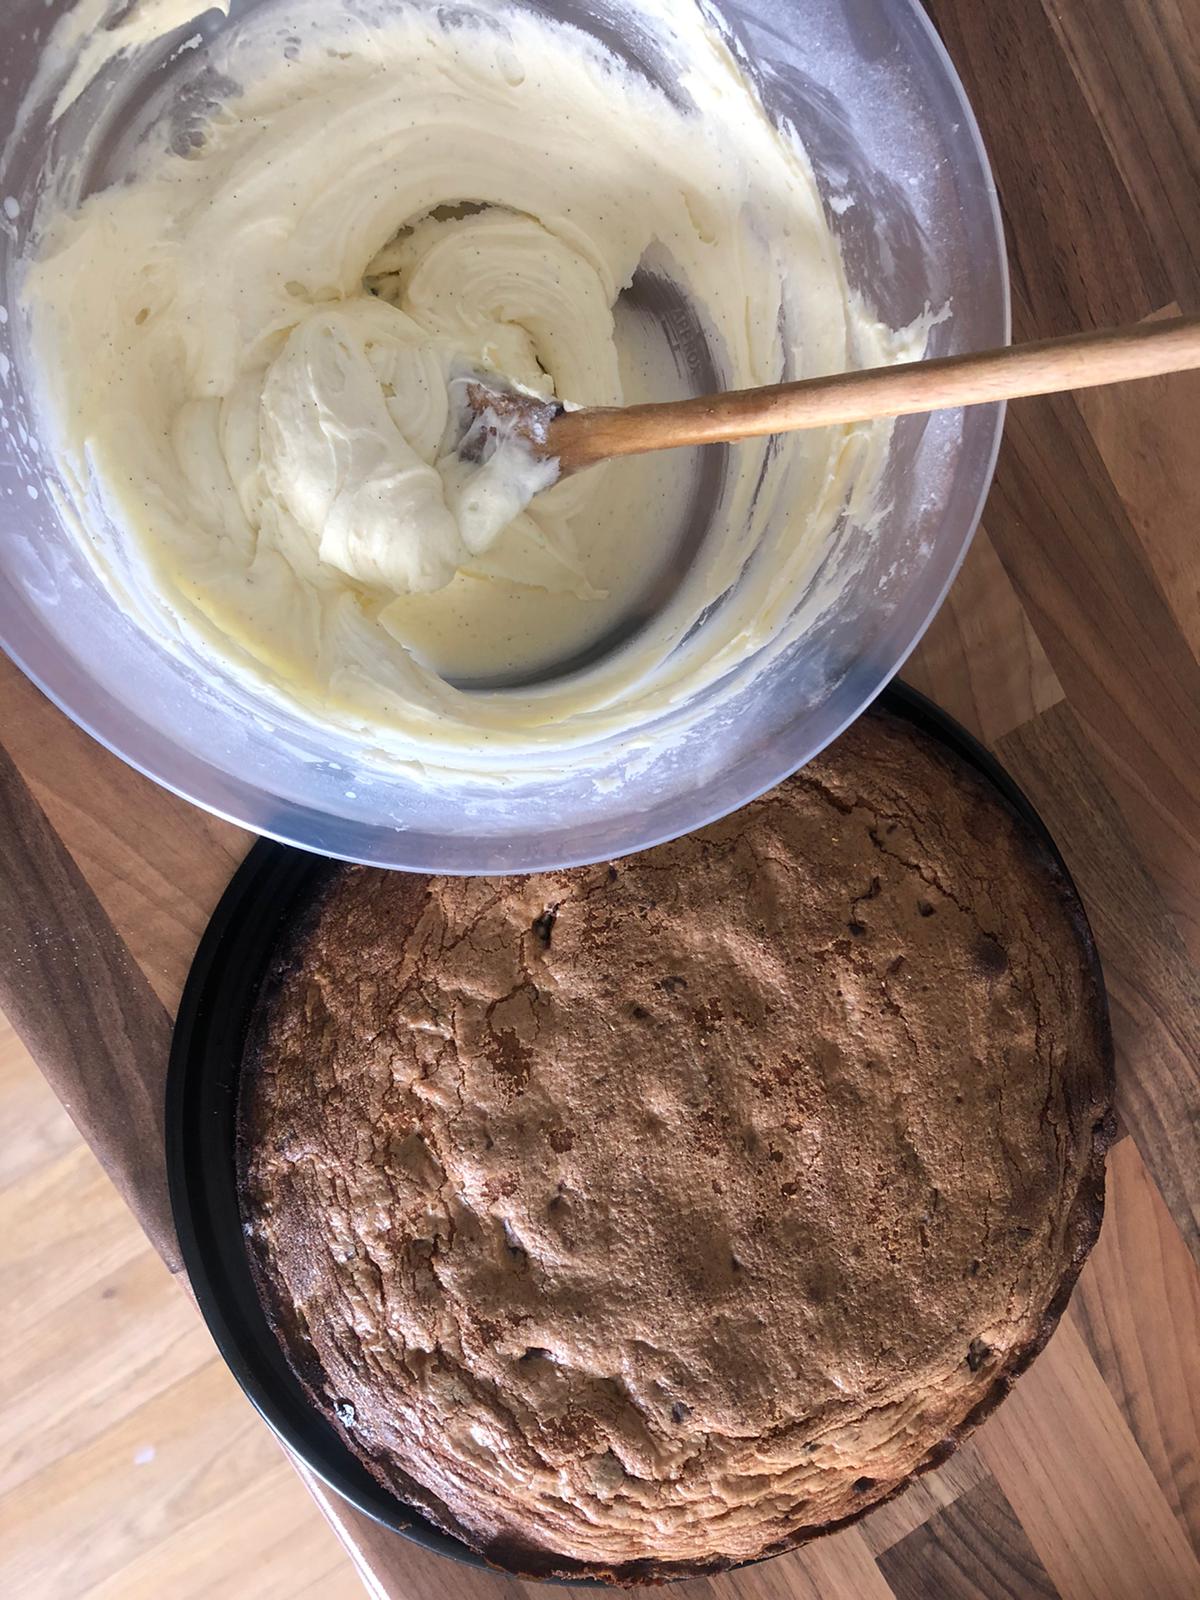
(A word of caution: don’t leave your cake in the oven more than you need to, or you too will get the slightly overcooked look my bake bares).
Millie’s Cookies-inspired giant cookie bake
Ingredients
For the cake
- 175g unsalted butter, softened, plus some extra to grease your tin
- 100g caster sugar
- 100g light brown soft sugar
- 250g self-raising flour
- 1/2 tsp salt
- 2 medium eggs
- 2-3 tsp vanilla essence (to your preference)
- 150g dark chocolate, crushed into chunks
- 150g white chocolate, crushed into chunks
For the buttercream icing
- 100g unsalted butter, softened
- 220g icing sugar
- Splash of milk (I used skimmed)
- 1/2 tsp vanilla essence
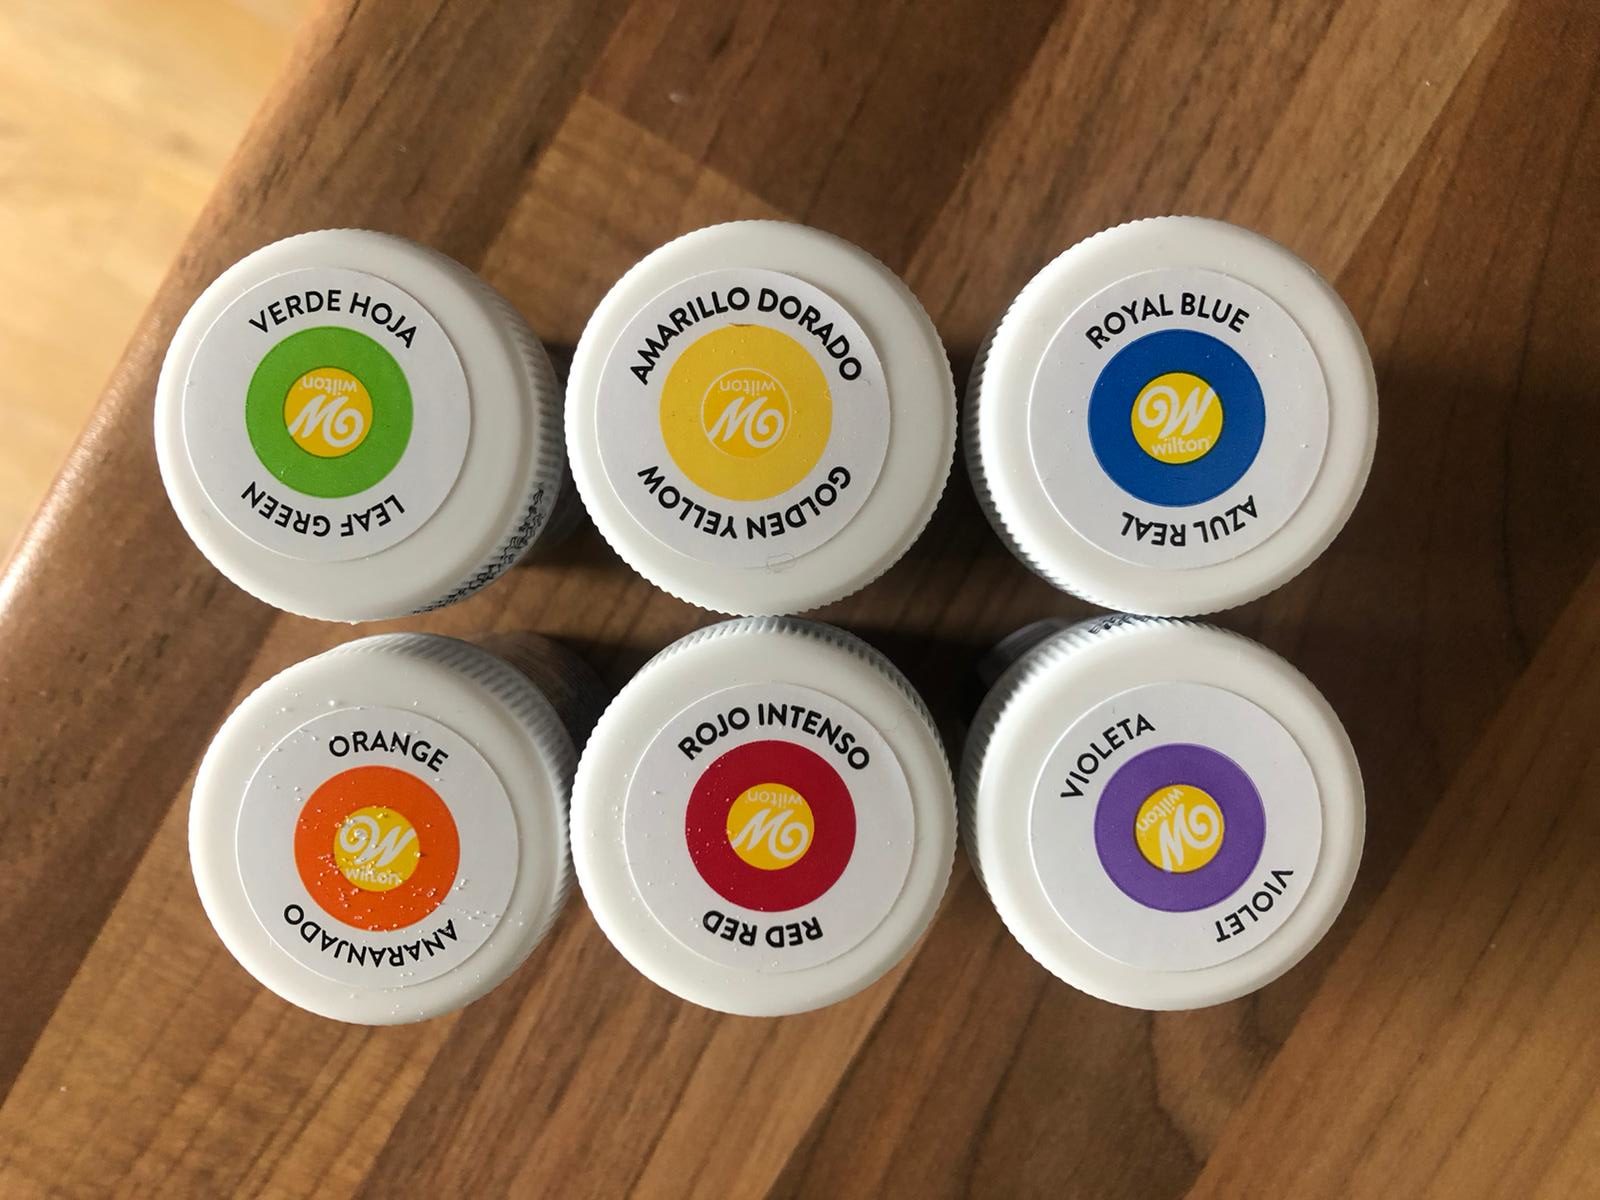
- Food colouring (I used two colours)
Method:
- Preheat oven to 200ºC/180ºC fan
- Grease a 24cm round tin (I used a springform tin)
- Add the butter and the sugar and cream the ingredients together.
- Add the vanilla essence and beat in the eggs.
- Add the salt and fold in the flour until combined.
- Chop the chocolate pieces into medium and small chunks. The medium chunks should be smaller than a quarter of a square of chocolate.
- Add in the chocolate chips, combining them into the mixture.
- Pour the mix into the tin and spread it to level it out.
- Bake in the over for around half an hour. You can prick it with a wooden toothpick to ensure it is cooked in the centre. (Note: keep an eye on it and judge this to your oven).
- Leave to cool in the tin, and when completely cool, remove.
- When the cake is almost cool, prepare your buttercream icing.
- Add the butter and sugar into a bowl and beat them together until it is smooth. Add in the vanilla and milk and beat again.
- Split up the icing sugar into different bowls for each colour you wish to add onto the cake. I used two colours and also kept the white, so split it into three.
- Add as little or as much food colouring into your icing – I wanted it to use bold, bright colours so created a navy blue and a red with a slight orange tinge by adding a teaspoonful of each colour into the mixture. Adding a little first is advised to slowly build it up.
- Pipe your message and decorative patterns onto your bake one at a time. Be sure to wash the piping bag thoroughly for each colour.
More in this series…
