Did you read the P&J’s your life magazine on Saturday April 24?
That Methlick quine Yvie mentioned my name in the same sentence as Mary Berry! Wow, was I chuffed?
The only thing I thought I had in common with the Cuisine Queen is age.
Of course, Yvie was leading up to mention our new freedoms, being able to shop more normally and meet chums for a face-to-face blether while enjoying a cuppa and a scone.
That led on to her current interest in the garden.
This wee while back, the subject has been mentioned in the press almost daily.
Millions, aye millions, of people across the nation have discovered just how therapeutic gardening can be.
Firstly, it is linked to an appreciation of the fairly gentle physical exercise involved in pleasant surroundings.
That leads logically to the discovery that “grow your own” produce at this time when money is tight can be a bonus.
Mind you, octogenarians with 60+ years’ experience will vouch for aw that.
I have no doubt the same set of rules applies to home cooking. It certainly seems to me of late, that there has been many more cookery buffs demonstrating their skills on the telly, with the redoubtable Mary leading the field.
Mind you, I do wonder sometimes if she ever cooks something and mutters to herself “och it will be alright with a knob of butter”.
Oor Yvie manages to slip in a wee question about patching the lawn.
A very timely subject, considering my mention of lawn maintenance last week (by the way, the rain did come in time to wash in the fertiliser before it might scorch the turf, I can see an improvement already).
How to repair bald patches
Yvie’s problem is how to repair bald patches, having found out that scattering some seed on the area is akin to putting out a tasty lunch for the local bird population. Bare patches can be caused in various ways – scuffed during a family football match, practising the golf swing or where a slight bump has been scalped by trying to cut the grass too short.
How is it to be repaired, that is the challenge?
Define the patch, cut out remnants of the old turf, and cultivate the area to a depth of 5cm to 10cms.
Check if there is any blockage below, for example on heavier soils there could be a preponderance of clay which “sets” like concrete when it dries out, that will hinder drainage and aeration.
In other words, make sure the area is draining freely, and if needs be, loosen and refill the area with good soil up to the surrounding established level.
Firm gently, sow the new grass seed and scratch it in to the surface lightly using a little hand fork. Firm again and cover with a fine mesh net to defy the budgies.
In some situations, there is another, more foolproof technique and that is to fill the bare patches with a piece of turf cut from another part of the lawn.
Perhaps it could be made available if there is a discreet area from where you might lift a piece to reshape the lawn, or where you wish to open up a space to plant some roses, a tree or whatever. The technique is quite simple; prepare the bare patch as before but by first removing soil to a depth of 5cm, then cultivate the exposed area very lightly, levelling and firming. Lift the measured piece of turf from the designated area 5cm thick, using a spade laid flat on the ground, and place in the new location patting it down gently.
There are two BUTS to that solution.
You must be sure that the new turf fits snugly and is firmed into place. If needs be it should be watered to prevent it from shrinking, and secondly DON’T take the replacement turf from a completely different lawn area – it is highly likely that it winna match.
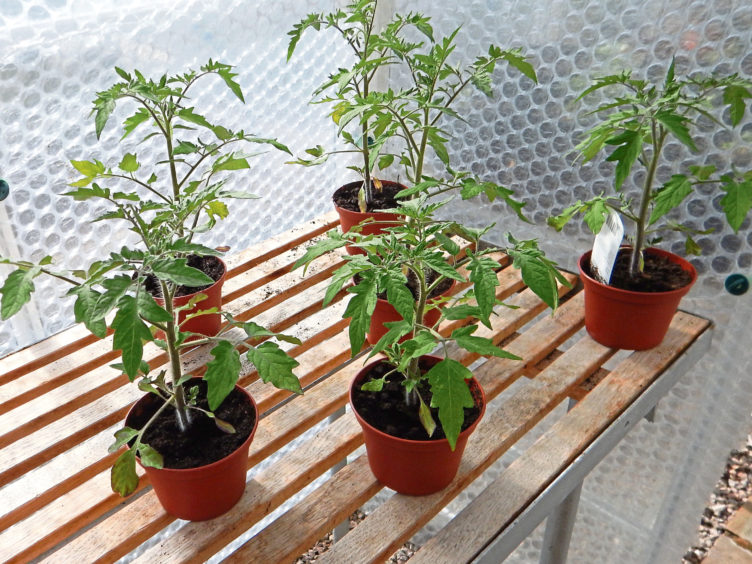
I am about to plant my tomato plants, and contrary to what I said a week or two ago, I decided the main variety would be Shirley.
Did I also mention I am going back to using growbags?
The automatic system I have used these past 10 years was okay when I was away a fair bit. The opposite is now true so it is back to the growbag.
A word of advice. Before setting up the bags, be sure to give them a real pummelling – just as you would to a pillow.
When you have collected the bags from the garden centre, you will notice they are stacked together quite tightly. They become compressed and flattened.
Instead of putting your plants into a growing medium which has an even and open texture to allow the new roots to travel through it with ease, and which will allow water to spread evenly, a bag that has simply been plonked down will contain quite solid lumps of compost mixed through looser stuff. Bad news. Knock them about as you place them.
PS. It pays to allow the compost to warm up before planting.
Finally a quick reminder about pruning hydrangeas.
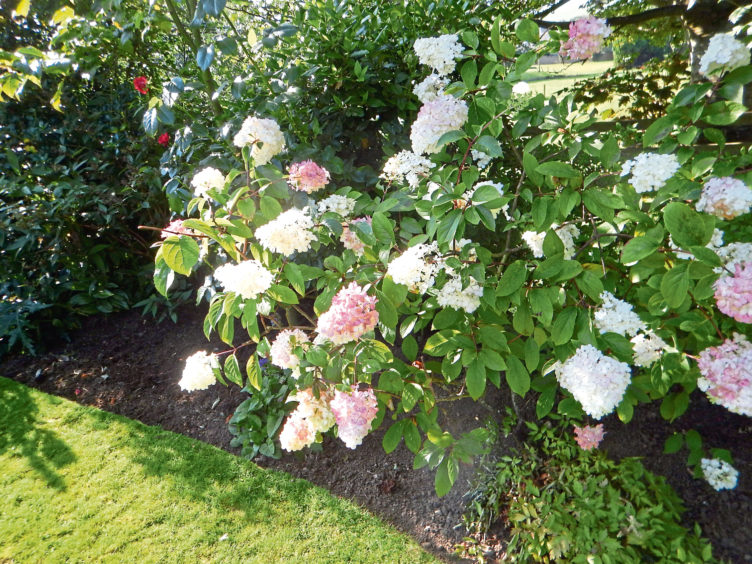
The time for pruning hydrangea depends on the species. Right now, I have just pruned our hydrangea paniculata vanille fraise.
This hydrangea flowers in late summer, producing large, conical flowers. If I say it needs a haircut, I don’t mean you should take the hedge clippers to it.
It does mean, however, that you can cut back last season’s growth to within a few centimetres of the older growth – spur-pruning would be the technical term. Follow that by feeding and mulching.


