While established gardeners will undoubtedly have developed their own ways of tackling seasonal gardening tasks, I’m conscious of the many newcomers facing them for the first time.
Let’s start with seed sowing indoors.
Some experienced gardeners will have started their seed sowing about now, especially those who like to participate competitively in flower and vegetable shows.
Their onions and leeks might even be poking through by this time, some under special lights to enhance the growth by improving on the inconsistency of natural daylight and by extending day length.
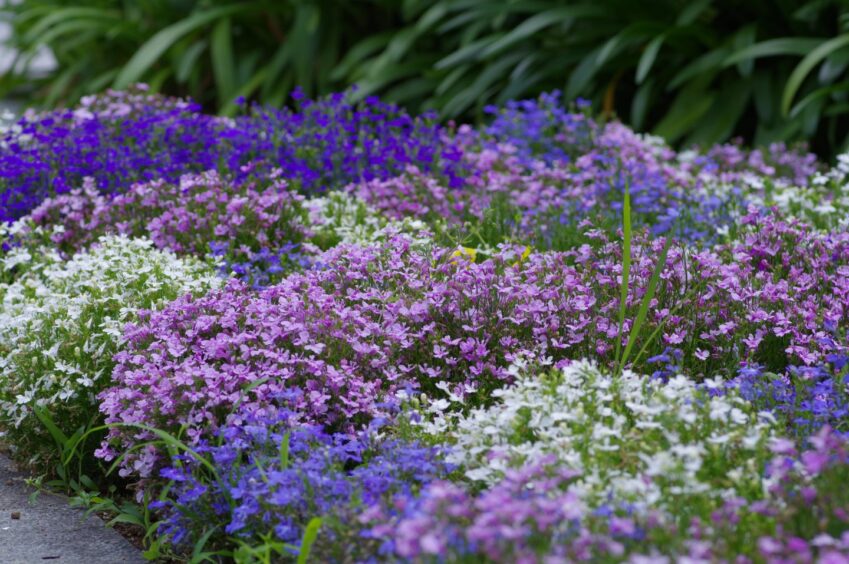
Bedding plant specialists will be sowing the small seeds like lobelia and petunia about now because from such a tiny seed, it takes a long time to raise a plant big enough to plant out in late May.
Soaking
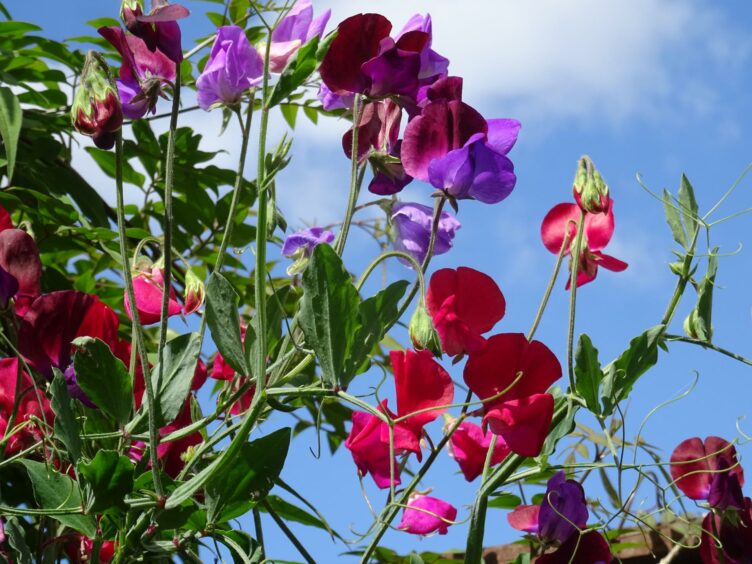
Traditionally, seeds with really hard outer coats, like sweet peas for example, are soaked before sowing.
This will obviously soften that tough outer shell, allowing the seed to imbibe moisture.
Some seeds have a chemical germination inhibitor in the coat to guard against starting into growth before climatic conditions will allow.
This too will be washed out by soaking. Every seed has a survival and starter pack of food inside the shell in a condensed form and when conditions are suitable for germination, it is time to break out of the shell, the nutrient rations are called upon and water is needed to dilute the concentrate.
To speed up the process where the seeds are encased in a particularly hard coat, soaking in tepid water for an hour or two will solve the problem.
Otherwise, the watering required at the time when a smaller seed is being sown will do the trick.
Artificial conditions
When we sow seeds indoors, in totally artificial conditions, they will react as soon as the seed surface is in close contact with the growing medium – the seed compost.
This mix is formulated for the job – i.e. it is finely sieved and carries a basic supply of nutrients.
Particle size
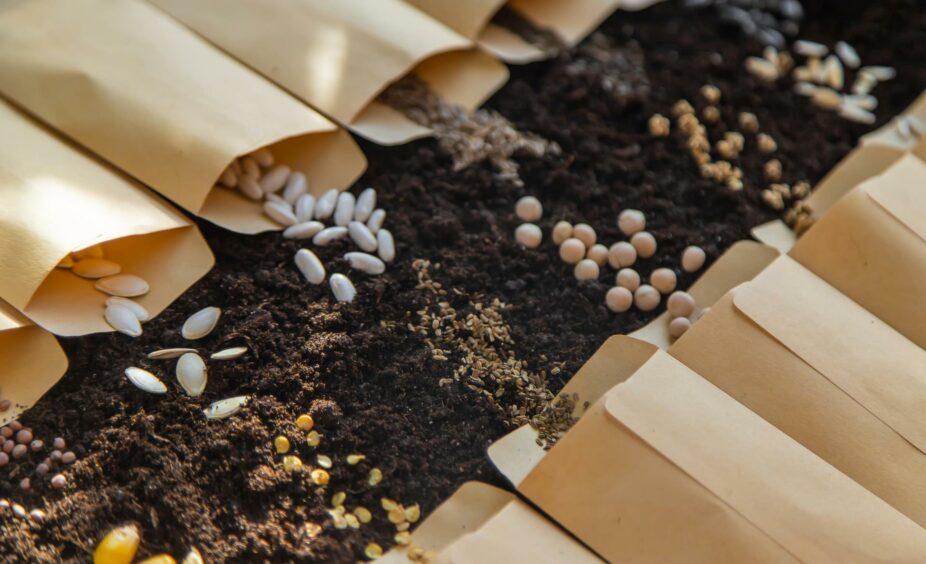
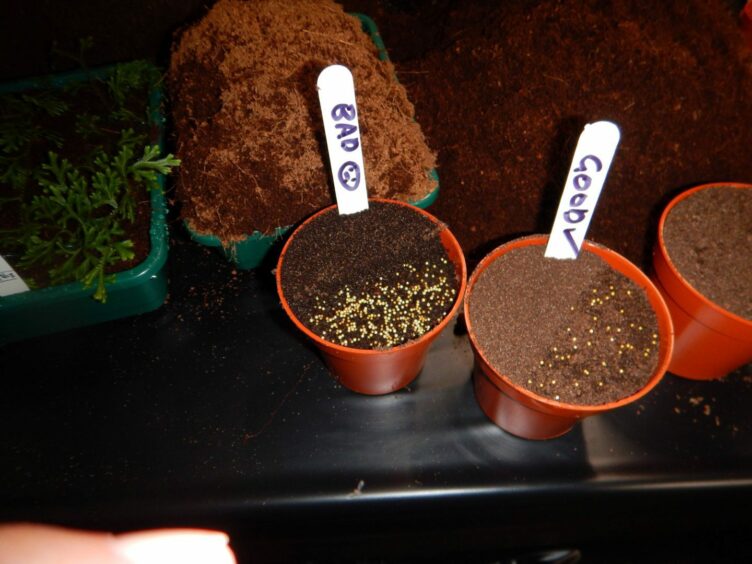
Roughly matching the particle size of the medium with the size of the seed is especially important when sowing very small seeds.
Why? Simple. The seeds need to be in firm contact with the compost particles to “feed” off them.
When sowing very small seeds they don’t need to be covered because they will drop into the spaces between compost particles.
Conversely, with large seeds like broad beans, we don’t need to be so fussy.
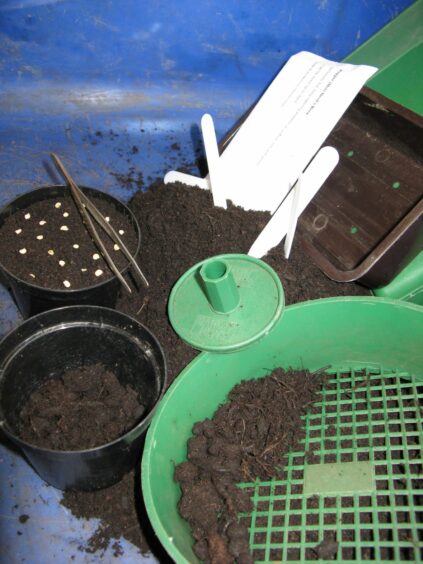
After sowing and just covering the seed with compost tapped through the sieve, we firm the surface gently with a flat “firmer” to make sure that the seeds are in intimate contact with the compost particles.
To the job in hand – you need a clean container, a suitable seed sowing compost with the chill taken off it, a sieve and a little flat block to tamp down the surface before and after sowing.
Moisture
Here’s another tip relating to this moisture thing. Having filled the pot with compost and firmed it down gently, I then water the pot with a fine rose on the watering can and allow it to stand for 30 minutes or so to drain.
Then, making ready to sow the seed, I would cover the surface with a last fine shake of the sieve followed by gentle firming – that will moisten the surface before sowing the seed.
Sprinkle the seed evenly, cover with a further light shake of compost through the sieve then firm to bring moisture to the surface.
In so doing, the seeds will remain in their evenly spaced position. Is that being a tad fussy?
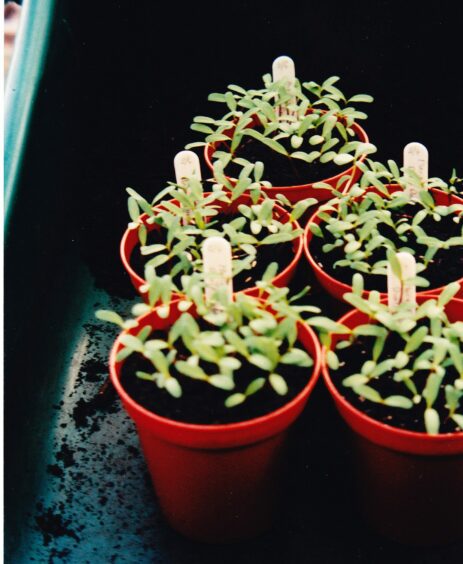
Maybe so, but when it comes to transplanting these seedlings, they can be eased out singly by holding a seed leaf gently without damage.
Sunlight
Finally, it is customary to cover the individual pots, trays, etc, with a sheet of glass resting on the container edge, with a sheet of paper kept at hand to protect emerging seedlings from being sizzled by direct sunlight.
Each morning the glass is removed and flipped over before placing back on again.
The bottom side will be dripping with condensation. Removing it daily is vital, otherwise water drips on the emerging seedlings causing them to damp off.
When you judge that most of the seedlings have emerged then the glass can be removed to allow them to “harden off” as they develop.
Whether it be a shelf in the kitchen, a greenhouse or a cold frame, these newly-sown containers will need two things – good light as soon as the seedlings appear and a temperature range sufficient to keep them safe and growing slowly.
Customarily, to grow steadily the seedlings will need a two day/night range of temperatures.
During the hours of darkness they must have a lower temperature than daytime – to slow down the growth.
In other words, poor light or none at all, coupled with daytime temperatures will produce spindly, unhealthy seedlings.
Finally, if you’re sowing a few different kinds remember to label each container, adding the date of sowing.
