I promise I will not make a habit of this, but I got stung by a wasp the other day – twice, on my neck!
I went straight in to the Matron; instinctively it seemed, she reached for the vinegar bottle, and with the other hand grabbed a tissue. The treatment was applied, irritation gone within minutes.
I guess she hadn’t used that treatment for decades. Wish I had a memory like that!
It’s a different story when it comes to gardening matters. Last week was spent finishing off the planting of tubs, baskets and borders with the summer bedding plants, and then the big clean up.
Dealing with bulbs
What happens to the bulbs and plant which provided the spring display? Wallflower and myosotis were destined for the compost bin, having shaken off loose soil from the roots. Polyanthus set aside for further treatment and tulips laid out in separate seed trays, keeping varieties separate.
They were placed in a cold frame with lid over the top but propped open to allow them to ripen off. When the foliage has died and literally dropped off, the bulbs will store till ready to be planted again next autumn.
Incidentally, in the same frame are the pots of narcissus, which had been used for indoor display over the winter months.
One last point about the bulbs being dried off – be sure that they are accurately labelled.
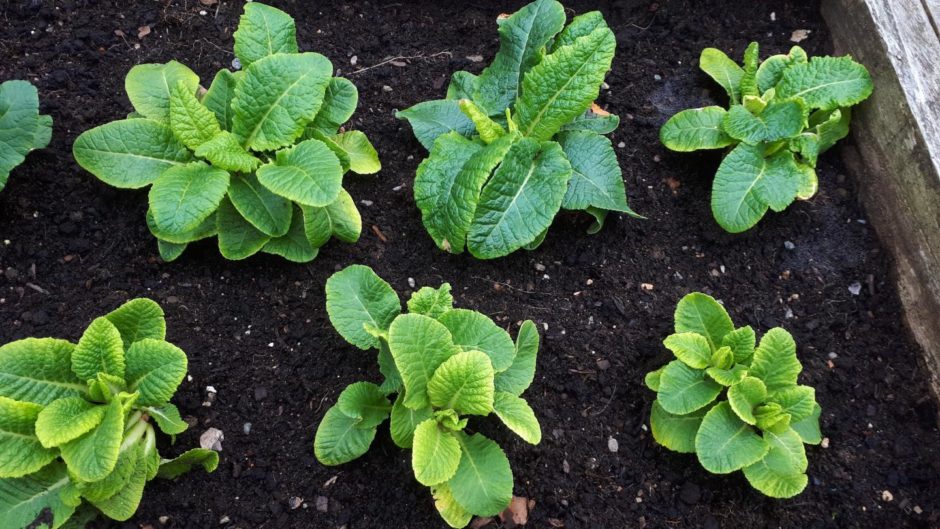
Now to the polyanthus. They can be rejuvenated too. Shake off the soil clinging to the roots, chop off the foliage about 2.5cm (an inch) above the roots, having first separated them by flower colour. Yes, I am a bit fussy about that, I’m not all that fond of random colour mixes, apart from anything else, polyanthus tend to have different growth rates which relate to flower colour.
Trim the roots and then split up the crowns – made easier by that pre-preparation – and proceed to plant out in a nursery bed. By autumn you should have a fine batch of young plants for planting out.
By the nature of our garden, I don’t have much space, so I pot up these young crowns in pots which initially occupy a bit of greenhouse space when sitting “pot thick”. When they have established and begun to grow away, they too will be moved to a cold frame for the rest of the summer. A slightly more labour intensive technique but that’s the kind of thing that keeps me active these days!
Plan ahead
Successful results in the garden do rely on planning ahead, so whilst still dealing with the consequences of the 2020/21 season’s spring displays, we should now be looking ahead to the 21/22 season.
Apart from the re-use of our stock of polyanthus as just described, are we going to plant up wallflower, myosotis and maybe winter-flowering pansies too? If so, it is time to select varieties and colours if you plan to grow your own.
Traditionally, seeds would be sown any time soon, in rows outdoors, in a corner of the vegetable plot. But – word of warning – members of the wallflower family can be attacked by Clubroot, the disease which affects all members of the cabbage family, wallflower included.
When they are big enough to handle easily, the seedlings are lifted and transplanted in August about 10cm to 15cm apart, giving each seedling room to develop into a sturdy specimen for planting out in the flower tubs and borders in October.
Two points to be emphasised: the first particularly relating to wallflower – by transplanting the seedlings in August, the developing tap-root is broken and that will encourage the young plants to produce sideshoots, each one fit to carry a decent flower spike. If they are not transplanted, the plants will produce a long dominant taproot and an equally dominant single flowering shoot – not a pretty sight. The second point is rather obvious – by starting early, you can be planting out sturdy, well-balanced young specimens strong enough to stand the winter weather conditions.
Nowadays, the fashion is to buy container-grown plants ready to go into the borders and that system works well, quite a change from the old days when we went to our local nursery to buy bare-root wallflower plants, wrapped in newspapers.
Wallflower saga
I can’t end this wee tale without recording my first real experience of the wallflower saga. Working at the College of Agriculture after finishing my studies, my first job was on the “outdoor squad”, lead by foreman Harry Moyes. We planted the seasonal flower borders around the buildings of most departments on Auchincruive Estate.
Harry’s favourite spring bedding plant was the wallflower, which he watched over from the day the seed went in the ground. I do not tell a lie but to plant these specimens in October we used a SPADE! I must tell you about his sweet peas one of these days.
The wallflower is botanically defined as a hardy biennial – it makes the vegetative growth in year one, overwinters as a grown plant and flowers in year two. Although not usually classed as a “bedding plant” there are other two very popular biennial plants useful for border display and as cut flowers which can be sown during this month, and these are Sweet William and Foxglove.
They make very good space fillers toward the front of any border.


